https://www.youtube.com/watch?v=f7eiLwotjz0
[MediBang] How to Sketch a Face Tutorial
Hello and welcome back to my channel .
In this video , I'll be showing step by step demonstration on how to draw general faces .
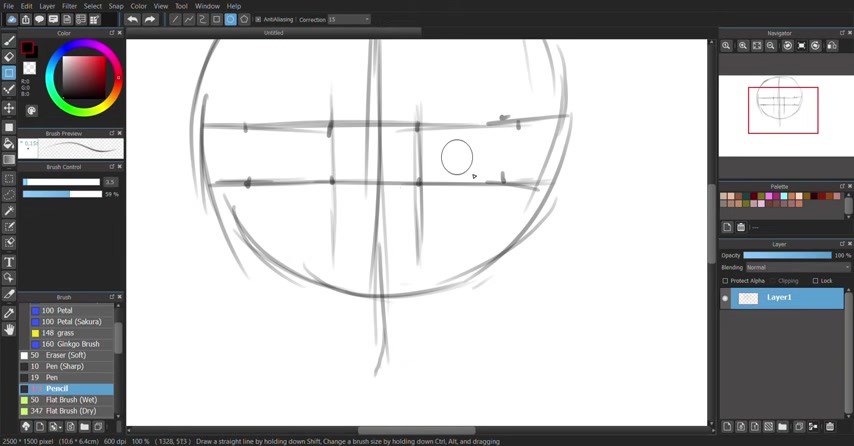
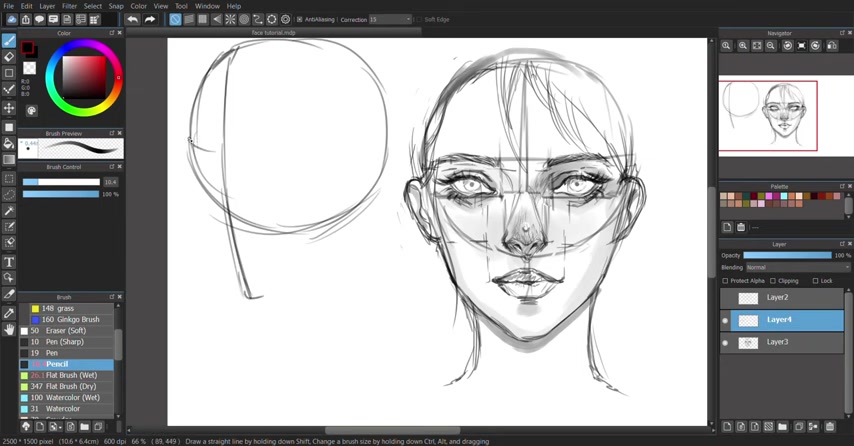
First thing is to draw a circle , you can sketch it out or use the shape tool .
The shape tool is located to the top left after the circle is done , draw a vertical line in the middle and make it past the circle a little bit and then draw two more lines going horizontally across the circle on the horizontal lines , draw eight dots to indicate where the eye shapes would be .
56.479 --> 137.119
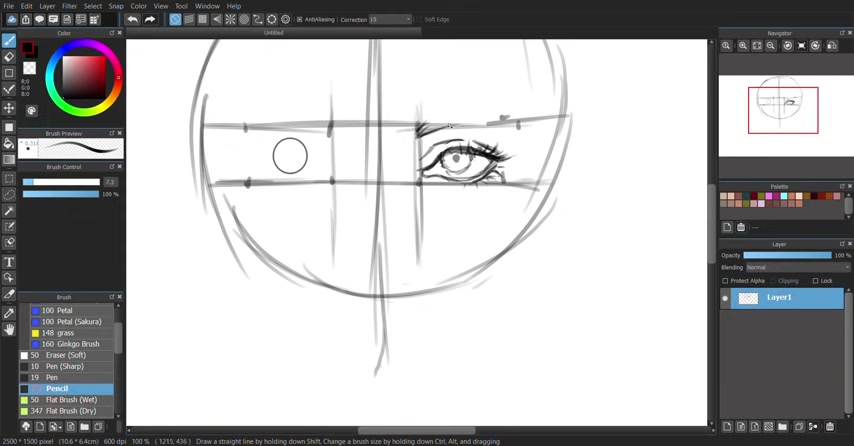
The eyebrows varies because depending on the type of character that you want .
And the type of features that you want , the characters to have some could have a thick or thin straight or very arch eyebrows .
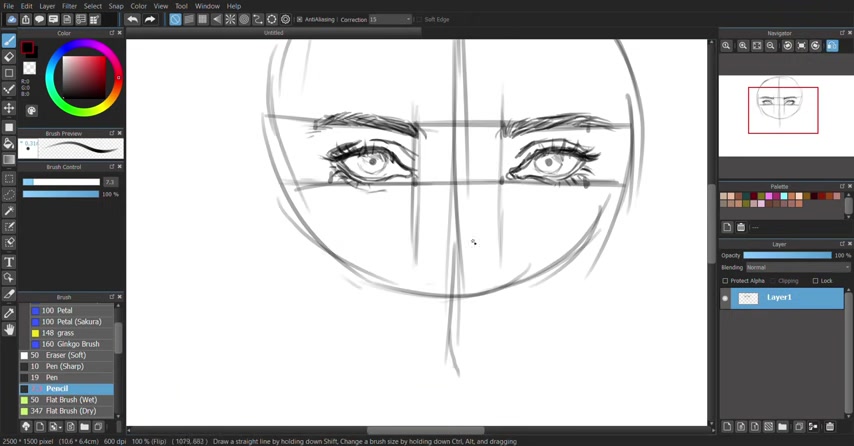
Also don't feel discouraged when one eye is more slanted than the other it takes many attempts to make it look good .
You just have to keep practicing .
Also , I just wanted to suggest flipping your image when you draw , flipping your image , allow you to see disproportion and fix mistakes a lot easier .
This is why if you're drawing digitally , it's best to flip your image as you draw .
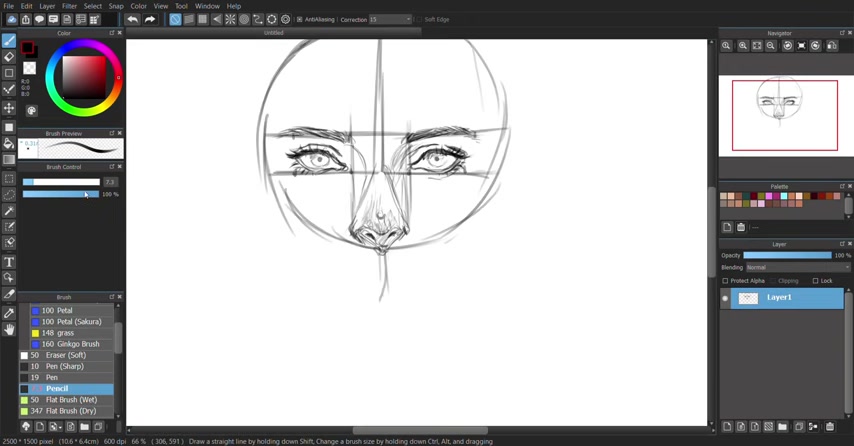
Once the ice is done , go to the inner parts of the eyes and sketch a line going down only just a few space down from the eyes .
The space between this will be the width of the nose .
If this help , joy is triangle to guide you .
As your rather knows , I usually draw a small arches for the nostrils and the shadow would take the form of a flat ma flat letter M .
The perks of drawing digitally is that it makes adjustment and fixing mistakes a lot easier .
So as of right now , I feel like the nose is a little bit too wide .
I'm going to select it and then control t to adjust the shape and size of the nose .
For the mouse , take the inner parts of the iris and draw a straight line going past the nose .
This will be the length of the mouth slightly right below the nostrils , draw a very flat looking V and an arch downward to the center of the mouth .
Make the top lip a little bit thinner than the bottom lip unless you want to go for the powder looking that'll be fine too because lips varies from different types of characters .
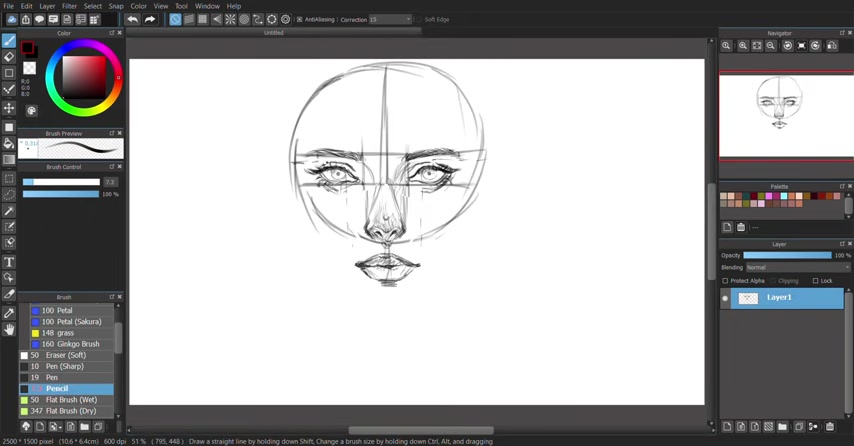
As for drawing the ears , I take the top part of the eyes and draw a straight line through it .
This will be the top parts of the ears and then you just want to curve it down toward the nose .
Also , I forgot to mention to leave a little bit of space between the ears and the eyes after the ears are finished , start drawing the shape of the face .
Now , the shape of the face also varies accordingly to the types of features that you want your characters to look like .
Some face could be smaller , broader , et cetera .
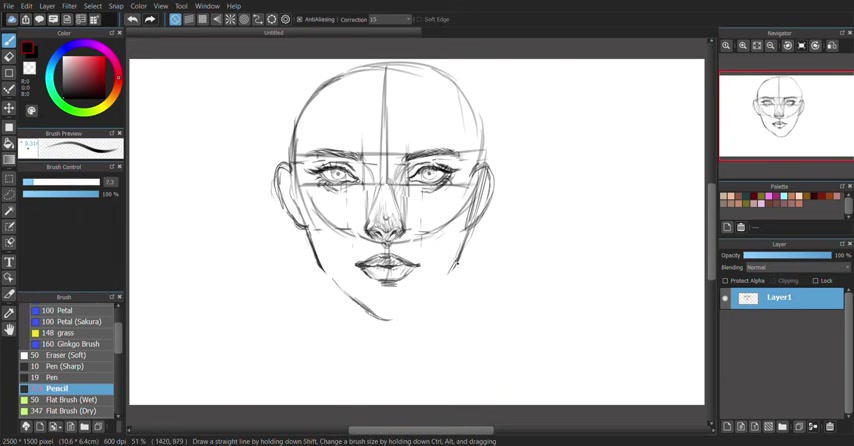
As for female faces , female faces are more smoother and the eyes is a lot larger than the nose , same things for the mouth , the mouth is usually plump , but this is also generalization .
Some females can also have some masculine features such as angular faces , small lips or broader faces as well as for the males .
The males typically and I quote , typically have angular faces .
But again , it also varies from different types of features that you want your characters to look like .
Now I'm just gonna demonstrate shading .

448.07 --> 516.32
However , this time we're going to draw a straight line on the side of the circle close to the side of the circle rather than on the center , make the line a little bit curved .
After that draw two more horizontal lines that are slightly curving upward .
So with the same technique that we use on the first phase , we're going to use the same method to use on the second phase .
But at an angle , one eye is gonna be more longer than the other one and only one ears will be visible for people who are new to digital art or just beginners in general , don't feel bad if the artwork doesn't look good in the beginning , we all start from somewhere .

But every strokes and every mistakes that we learn is an improvement .
So just keep practicing as for the nose , the shape would be like a scaly triangle .
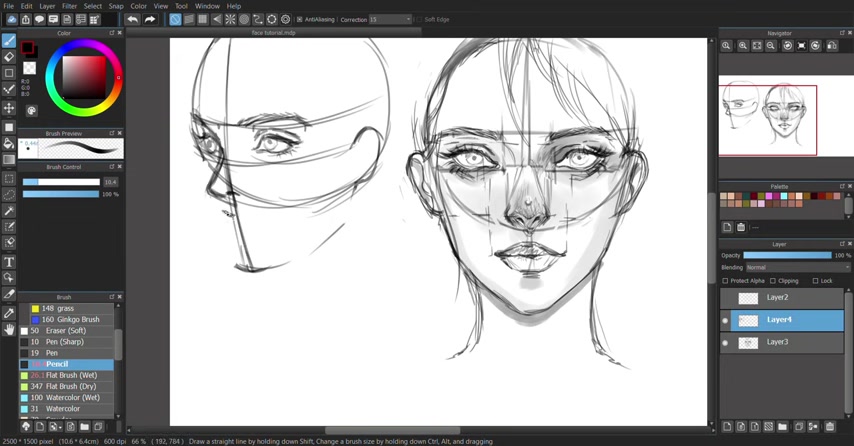
The mouth is like the same thing as the eyes .
One side would be longer than the other side .
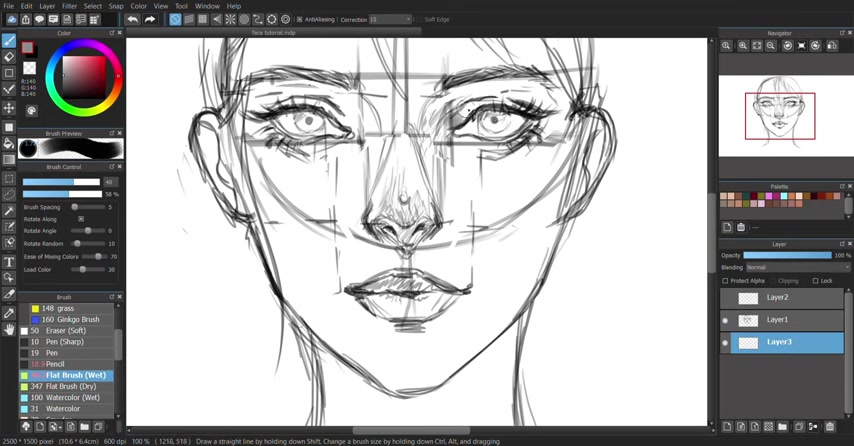
Now , I'm just going to do some little measurements to show you how the face line up .
Hello , everyone and welcome to the very first video tutorial of this face , strong series .
I'm brushes and bunnies and welcome to my youtube channel .
I've been wanting to do a video tutorial series for a very long time to have something that is kind of a finished series from the first video to the very last video and I decided to start with drawing faces .
I did do a lot of videos in the past talking about how to draw faces , but a lot has changed since then and I have learned a lot .
So I really wanted to dedicate an entire playlist to this entire concept .

Also , the iris would appear more flat and thinner and the eyebrow would arch a little bit within a few space from the eye .
Start drawing the bridge of the nose .
This will be a 10 part series and basically , it's all going to be about drawing faces , drawing expressions , how to draw heads at certain angles .
And of course , we're going to be talking about specific detailed facial features such as noses , eyes , ears and mouth for both female and male .
This tutorial series will have a focus on the Luis method , which was popularized by the artist Andrew Loomis and it is his own method on how to draw heads and hands for both female and male .
So without further ado let's just jump right into it .
First step is to get started with the basic construction of the face .
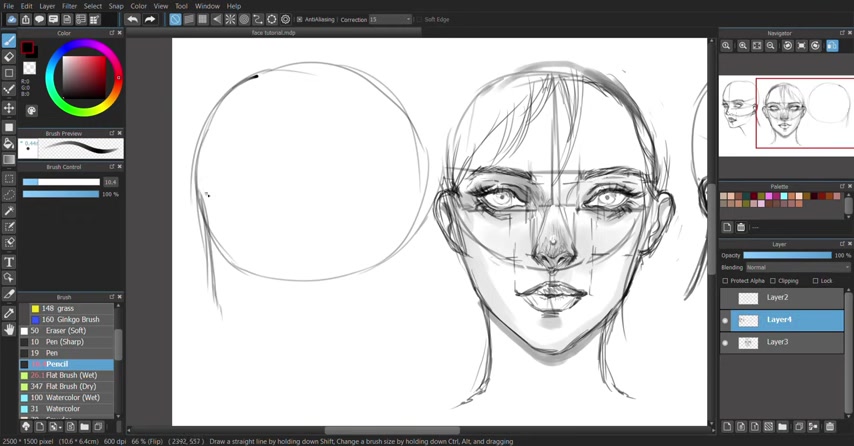
In this case , the starting point is to roughly sketch a circle shape .
I always tend to sketch something that is a rough type of circle .
It never actually is a perfect circle , but just something that resembles a circle as a starting point .
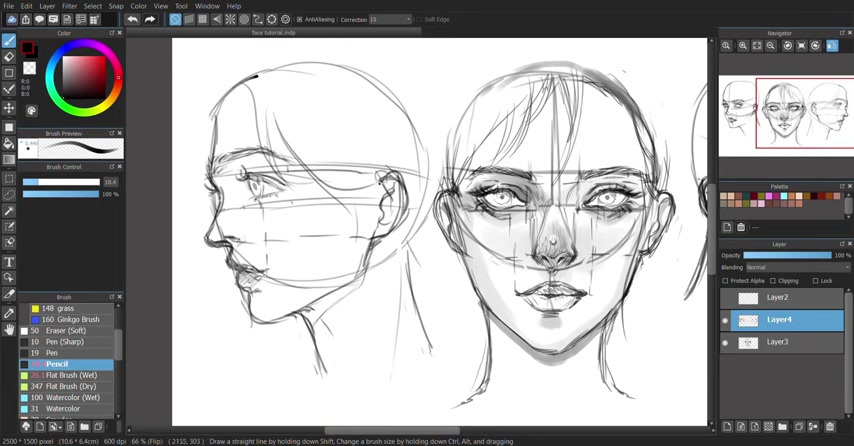
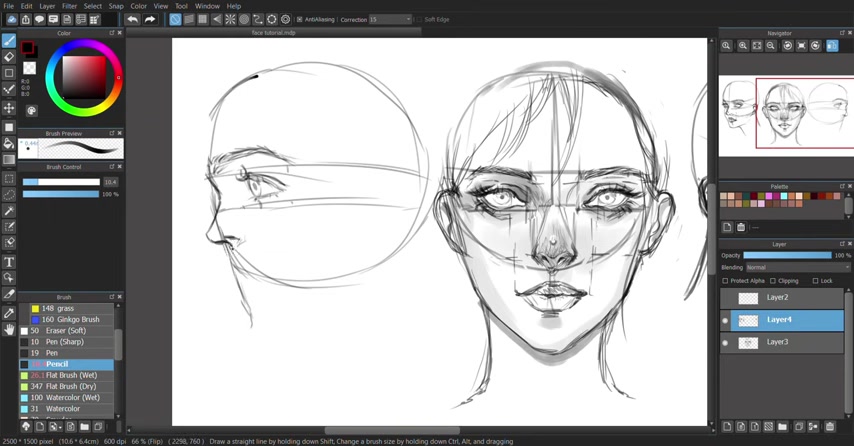
I did adjust the general circle of the of the head shape later on in the video , taking the same measurement between the hairline point and the brows and ears point .
We can then take the exact same space and move it downwards for the nose and also once more for the jawline .
And that will basically give you three equal parts from the hairline points down to the jawline point .
And by also using the brow line point , we can even further separate the head into two equal parts from the very top of the head down to the very bottom of the head .
Now that we've got all of the points aligned for the face , we can begin with the actual construction of the facial features before I get to drawing eyes or noses or lips , I tend to start with the general outline of the face .
And this is where the jaw will be .
Are you looking for a way to reach a wider audience and get more views on your videos?
Our innovative video to text transcribing service can help you do just that.
We provide accurate transcriptions of your videos along with visual content that will help you attract new viewers and keep them engaged. Plus, our data analytics and ad campaign tools can help you monetize your content and maximize your revenue.
Let's partner up and take your video content to the next level!
Contact us today to learn more.